The Ridge
7,072 yards of gently rising terrain, meandering streams and deep, cold lakes
Welcome to Northview! Discover your premier experience.

7,072 yards of gently rising terrain, meandering streams and deep, cold lakes
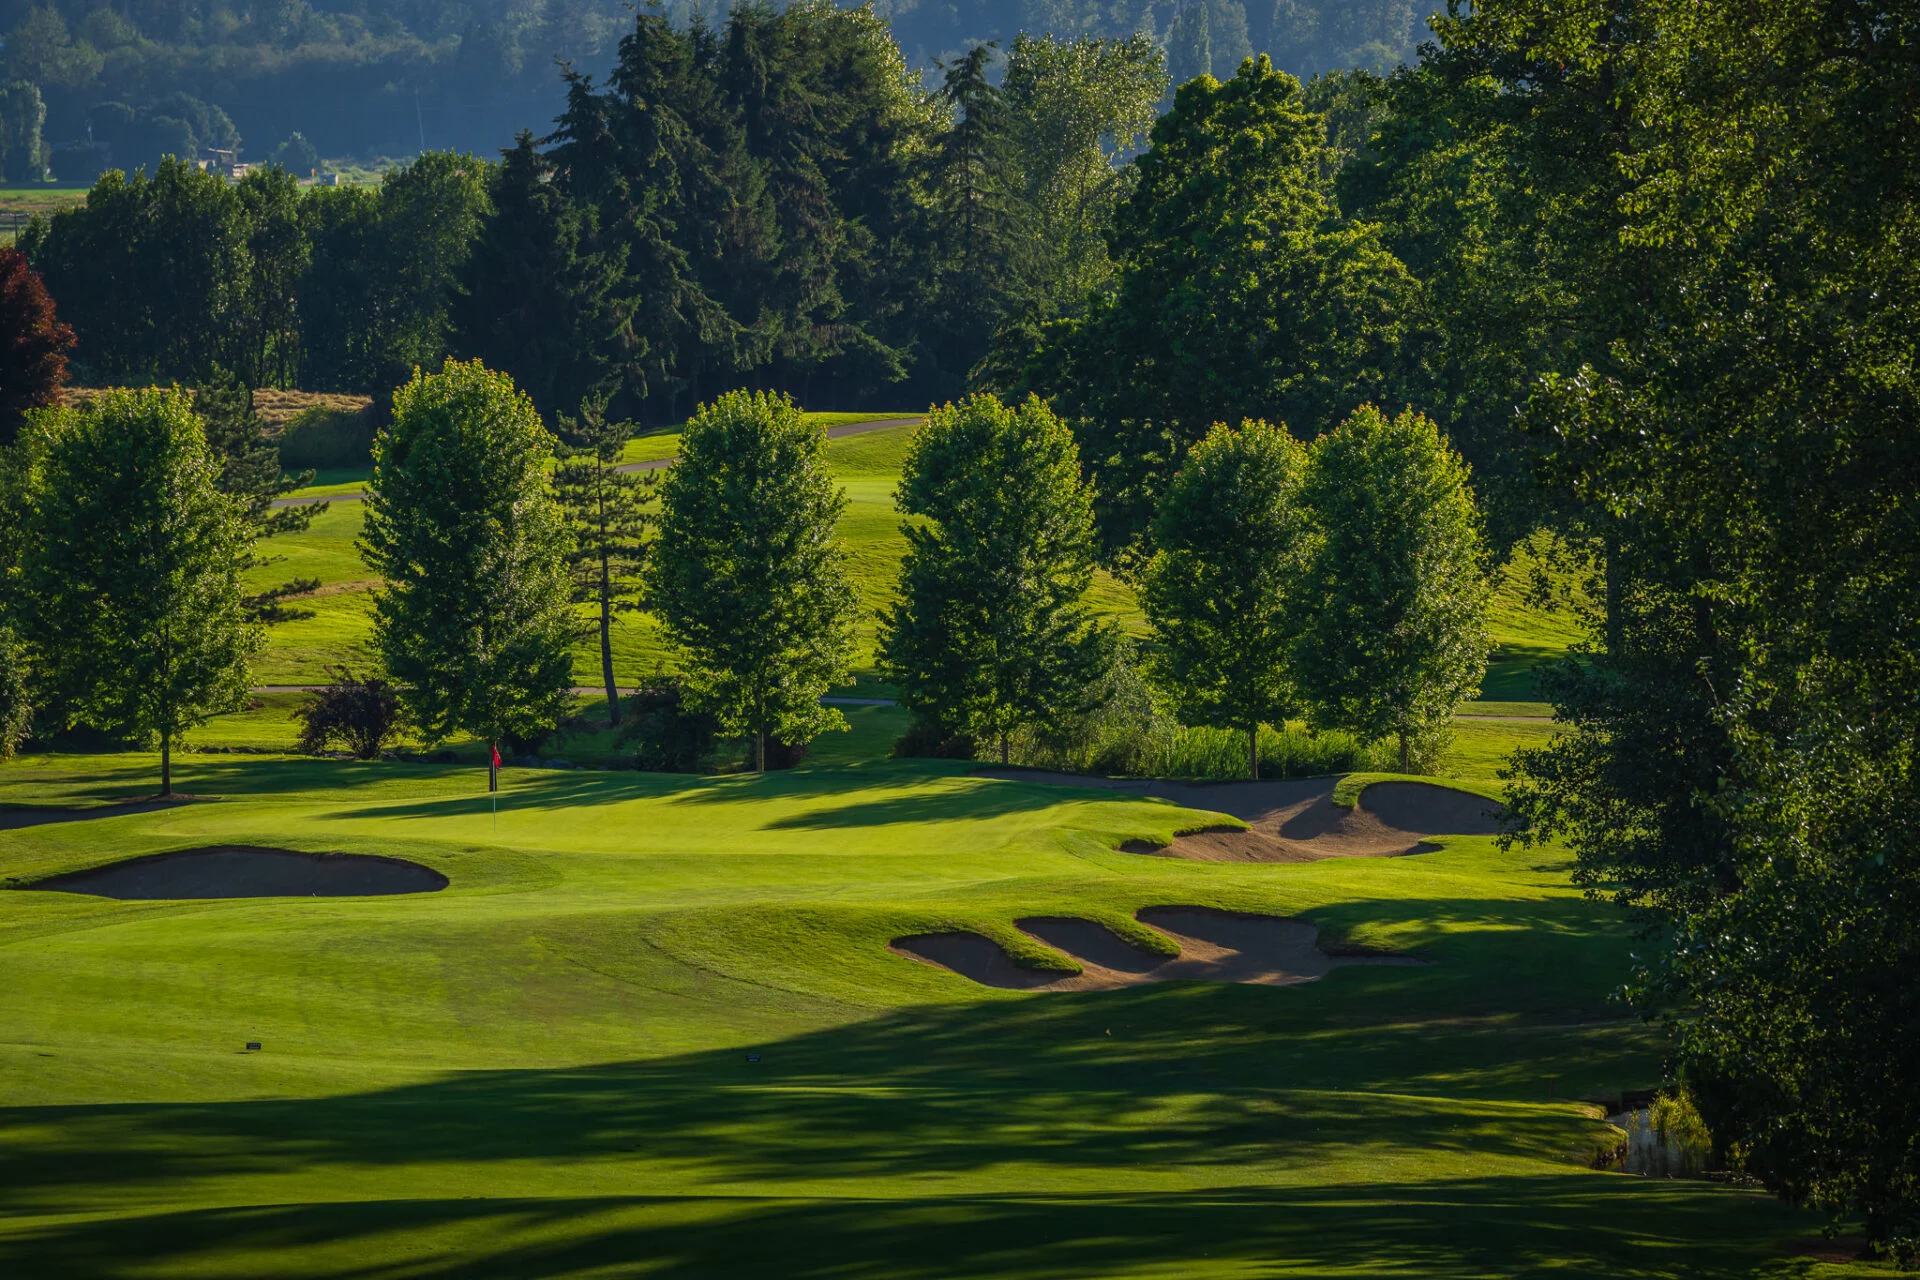
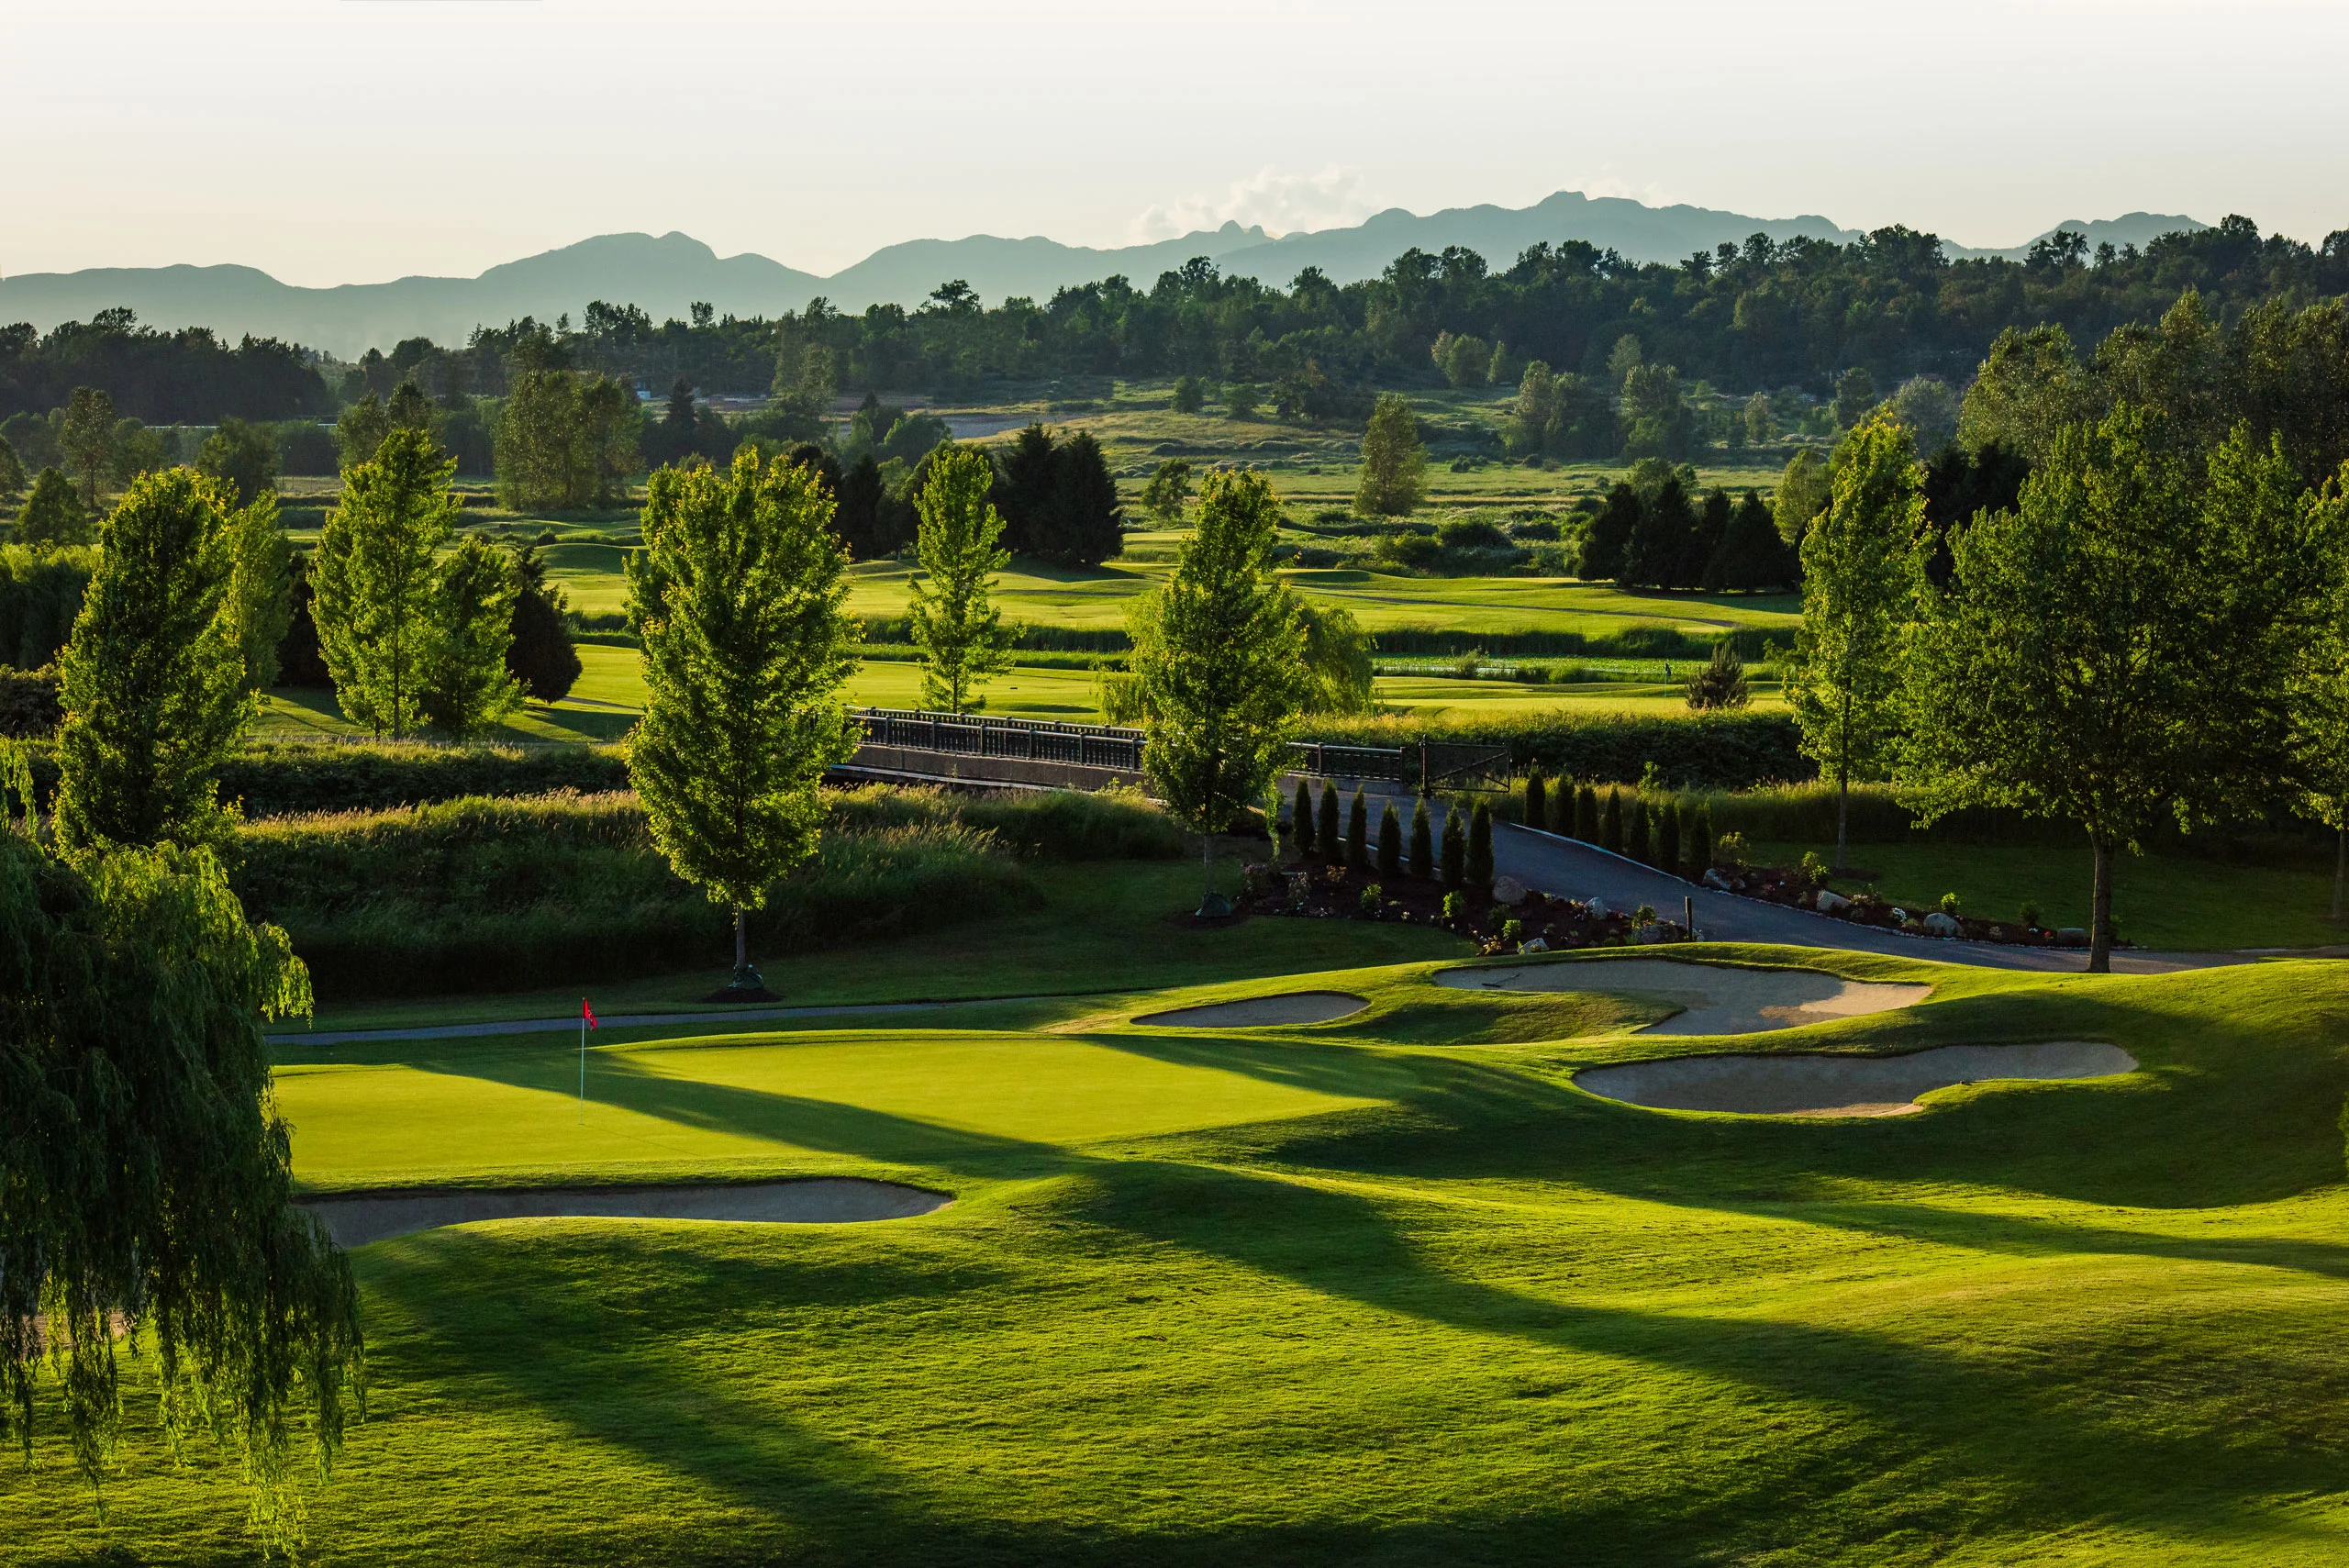
Although tough enough for the PGA Tour and rated among the top 14 conditioned tour destinations, the Ridge is a rewarding test for players of all skill levels. Designed by Arnold Palmer, the 18-hole Ridge layout occupies the more challenging portion of the our 400-acre space, with fairways routed across an undulating landscape that features a number of creeks and lakes. Choose from five sets of tees starting at 5,231 yards. Or if you dare, venture back to the Palmer tees, but make sure you bring your A game. A true championship layout.
Palmer tee – 73.4/138
Blue tee – 71.2/136
White tee – 69.2/124
Green tee – 67.8/121
Red tee – 65.8/114
White tee – 75.0/132
Green tee – 73.0/127
Red tee – 70.1/123
Need a scorecard? We’ve got you covered.


The Ridge has a story around every corner. Scroll through below to take a virtual tour of the course!
The first of three tough opening par 4’s playing against the wind and slightly uphill. Driver is required to get far enough down the fairway to leave an easier mid to short iron to the two tiered green. Protected on the left by one deep bunker, you will need to aim at the left side plateau or right low side as the green feeds shots down to the right with a hard-to-negotiate-slope in the middle of the green. With both severe and subtle breaks, two putting this green should leave a smile on your face, until you see hole #2.
Surrounded by trees, this narrow fairway takes on the look of a tunnel. However the landing area is wide enough for your tee shot. Again, playing uphill, the second shot does not allow you to see the putting surface, but a well struck mid to short iron should put you on this flat and easy to putt green.
The toughest driving hole on the course makes #2 look wide open and inviting. With a slight dogleg to the right and two tall trees standing guard on either side of the fairway, a conservative tee shot is suggested. The second shot from a sloping lie, downhill to a small green with only three bunkers again suggests careful planning. Once on the flat green, two putts will have you looking forward to the relief that #4 promises to give.
This uphill/downhill, double dogleg par 5 features a wide fairway so you can finally relax and let out some shaft. For long hitters, the possibility of reaching this green in two is exciting, but you can’t see the putting surface until you are about 125 yards out from the green. A second shot lay-up just inside the 150 yard pole leaves you a full wedge in. It is very hard to stop the ball as the green slopes away from the player. Tricky slopes make this green hard to putt, local knowledge goes a long way here. (wait for the bell)
A downhill/downwind par 3 to a deep but narrow green. The three bunkers are a greater concern than the pond on the left but there is also out of bounds over the green. Club selection is very important and once on the green, putting can also be deceiving. A solid par 3.
This big dogleg left, mid length par 4 looks harder than it is. With a cluster of fairway bunkers surrounding the landing area of your tee shot, keep it in the fairway. Aim at the 150 yard pole and put it into position for a mid to short iron into this severely right to left sloping green, guarded by only five bunkers.
A long uphill/downhill par 5 with fairway bunkers framing the landing area. The second shot from a sloping lie begs the question: Lay up short of the creek and flirt with the two nasty fairway bunkers, or go for it, across the creek in hope of birdie or maybe even an eagle. The green is designed to accept gambling long shots so the risk can be rewarded. Five greenside bunkers suggest focusing on the middle of this green and let your putter do the talking!
Arnie’s most obvious “go for broke” hole. It is possible to drive this green and putt for eagle. Unfortunately, it’s also possible to get wet trying! But Mr. Palmer designed an escape route down the left side for those with a shortage of balls (or a more conservative nature). From there, a short iron to the small green is all that’s required, as long as the shot avoids the water and the five bunkers around the easy to putt green.
This long par 3 requires a tee shot hit high to land soft and stop fast on this shallow green. 5 of the 6 bunkers do come into play and you must select your club carefully because the hole plays downwind almost every day. Once on the green, the putting is easy because the surface is very flat.
After some refreshments at the kiosk, you move to a series of flat land holes. The tee landing area is a plateau like table top with a drop off to the rough on the right and left. Long hitters could reach lakes on each side of the fairway. Your second shot is a mid to short iron into a severely sloped green that is protected by 7 bunkers and, less dangerously, lakes on each side. One of the hardest greens to putt on the course, so two putting is definitely acceptable.
The shortest par 3, but not as easy as it looks on the scorecard. A short iron is all you need to hit this small green protected by a lake on the left and in front with a bunker at the right rear. The green itself slopes right to left and can be hard to putt from above the hole.
The shortest par 5 offers eagle and birdie chances but beware of the hazards! All the way down the left side is nasty rough and fairway bunkers. To the right are lurking lakes waiting to gather wayward tee shots. The small flat green is well protected but a right side “bail out” area is available for those shying away from the pin. Putting is a breeze.
This par 4 seems longer than the yardage due to being against the wind to an elevated two tier green. The lake down the right side and rough on the left demands an accurate tee shot. The mid to short iron second shot into the left to right sloping green demands accuracy.
A downhill/downwind mid length par 4 with a lake down the right side and fairway bunkers to the left keep you aware on the tee shot. The mid to short iron second shot into the left to right sloping green has dire consequences for the wayward shot. Do not go left into the bunkers, this would leave a downhill sand shot leading straight to the water. Putting is very tricky. Good Luck!
A short par 4 dogleg right that plays uphill and into the wind. The tee shot must land between bunkers left and right leaving a short iron to a very shallow well bunkered green. The putting surface is not visible from the fairway and front bunkers create an optical illusion, being 8 yards short of the green. Once on the green, you best be on the correct side because the putt you may have could be 150 feet long and leaving you to negotiate the two distinct levels that make this green very tough to putt.
A downhill tee shot to yet another shallow green well protected by bunkers. A mid to long iron will be required to hit a high soft landing tee shot that once on the green, leaves no bargains in the putting department.
This slight dogleg left, downhill/downwind long par 4, has a number of hazards to avoid off the tee. Left is very sloped rough, right rough could leave you blocked out by two tall trees. Hit the fairway and you’re still left with a downhill mid iron shot to a green guarded on the right by water and front and back bunkers. The very difficult green slopes dramatically left to right and requires much patience to putt.
A terrific finishing hole! This double fairway Par 5 offers a short, rather dangerous route that allows an opportunity to reach the semi-island green in two shots or… a much longer, 3 shot route that offers a safer path to the green. Note the 100 yard long bunker that separates the two fairways. Once on this green you have the chance to imagine 20,000 people overlooking your putt, just as the tour pro’s had for 7 years, during the Air Canada Championship. Savour the moment, then sink your putt for the cheering crowd!